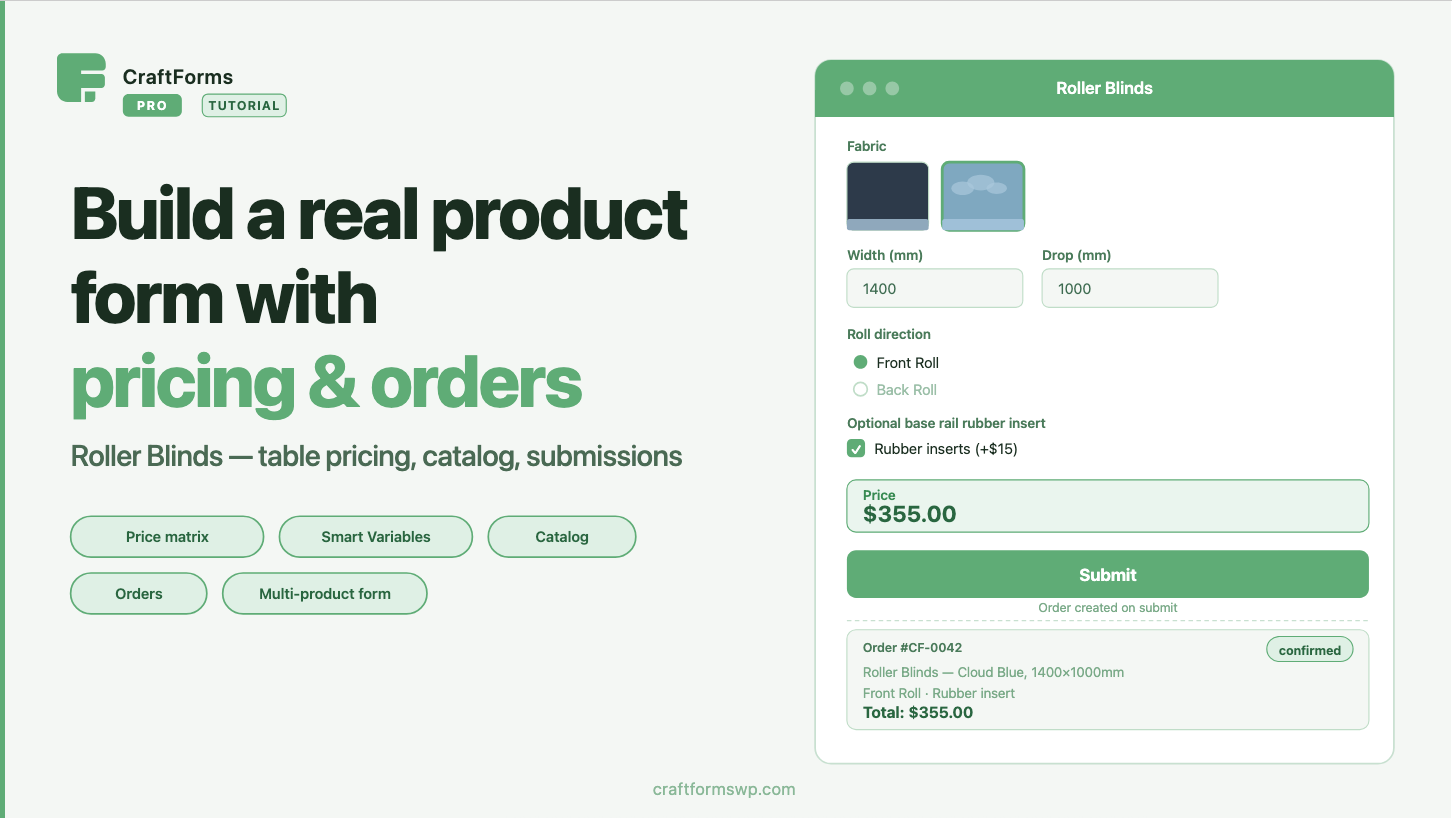
Most form plugins stop at collecting data. CraftForms Pro lets you go further: define a pricing formula, show the customer a live price before they hit submit, and turn every submission into a tracked order — all inside the block editor, without WooCommerce or a separate booking plugin.
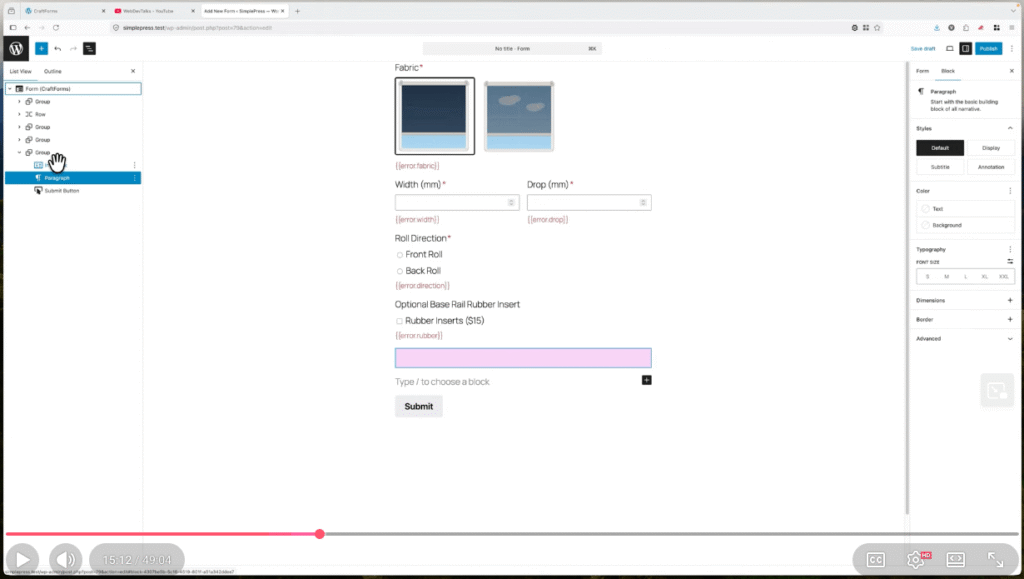
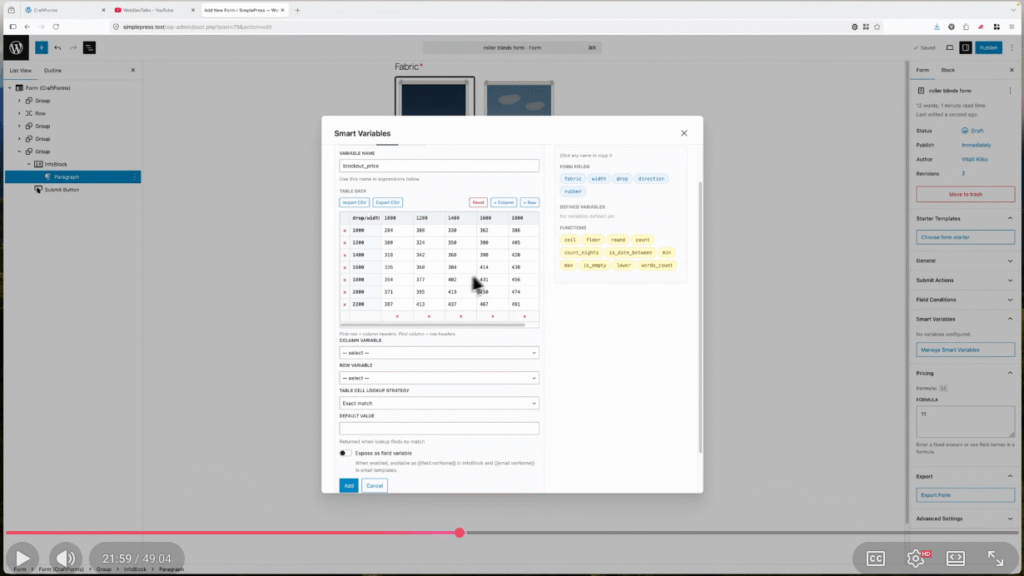
To make this concrete, this tutorial builds a real-world example: a roller blinds configurator. The form has a fabric selector with image swatches, width and drop number inputs, a roll direction radio group, and an optional rubber insert checkbox. The price is calculated using a 2D pricing matrix — width against drop — with the optional insert added on top as a flat fee. Smart Variables handle the formula; the result appears live in an Info block as the customer configures their blind.
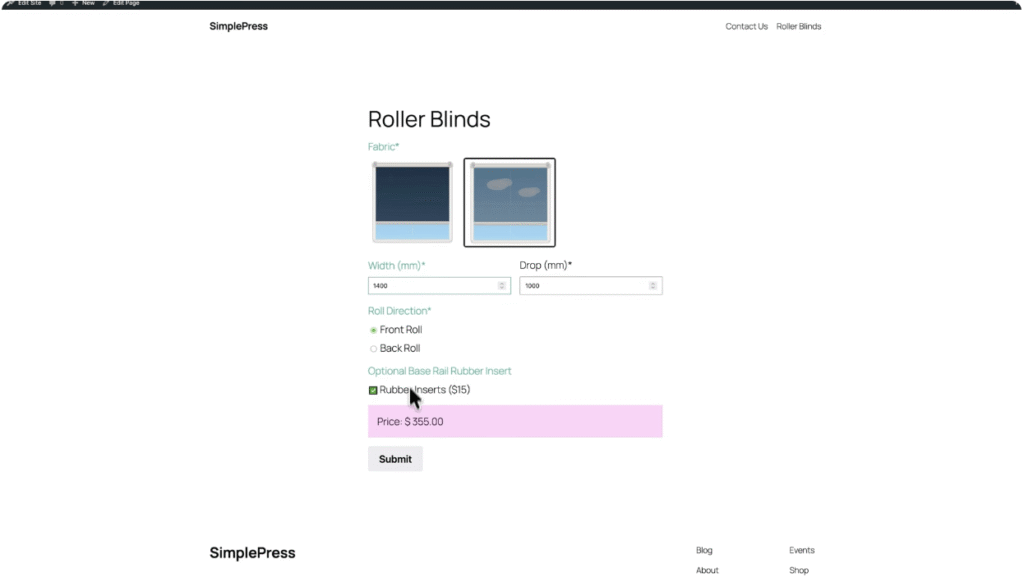
From there we show two modes of operation. In the first, the form works as a quote request: the submission is saved as a record, and an email notification goes out. In the second, the form is connected to a catalog item, and every confirmed submission creates an order with a full status lifecycle — pending, confirmed, paid — identified by a secure token-based URL you can share directly with the customer.
The last part of the tutorial demonstrates a key design principle: one form, multiple products. A second catalog item — double roller blinds — is created and attached to the same form. It brings its own pricing table and adds one extra option, but the form itself is unchanged. If you sell a range of products that share the same configuration logic, you define the form once and create a catalog item per product. Price logic and defaults live on the catalog item; the shared form handles layout, validation, and submission.
The full tutorial is on YouTube: